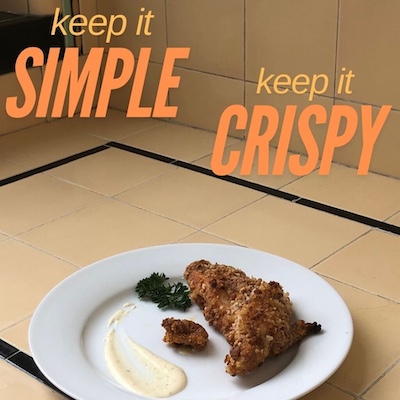
Calling all beat-up, brain-dead, exhausted, overly-productive and most of all hungry college students. It can be a big responsibility to go to school, go to work, have a social life AND be in charge of making your own food. But you can’t go everyday getting takeout or you’ll go over your monthly budget. These responsibilities feel overwhelming and keep us from really putting an effort into what we are putting in our mouths. With quick and delicious recipes like this one, you can put together a meal with little to no work and feel better about what you are filling your body with. You will feel greater fuel to cram for that exam and more motivation to study the night away. You can’t go wrong with a nice oven fried chicken-strip meal.
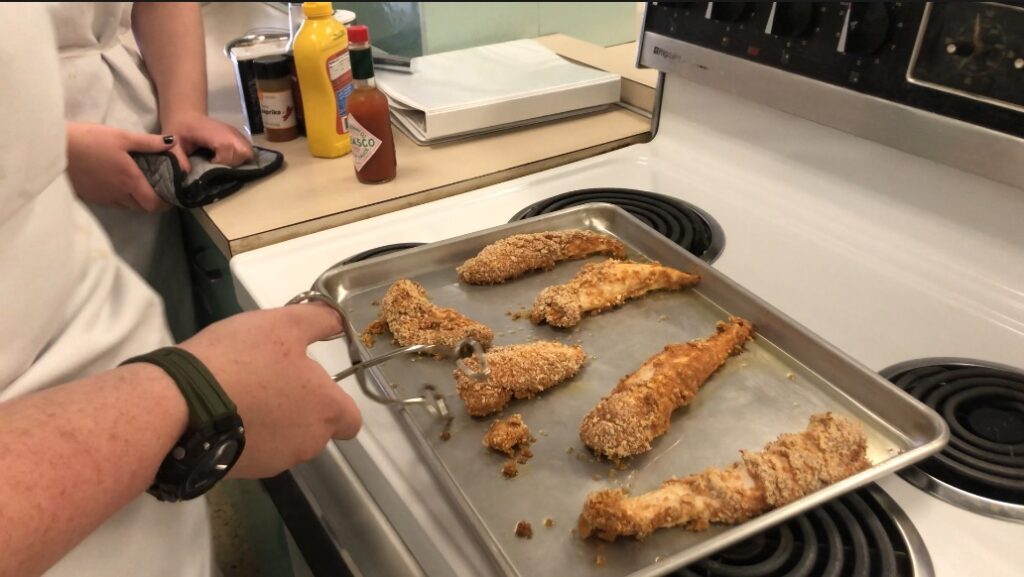
There is a lot of beauty in simplicity, and this recipe is exactly that. The few cooking techniques that are needed for this is breading (which is explained in the recipe below) and baking. Since the cooking technique used here is a dry technique, we have included helpful tips and reminders for anyone of any level of skill: preheat the oven BEFORE you begin the recipe, set a timer that is split up into two times in order to flip it halfway through, and how to tell when the chicken is cooked thoroughly. This last tip is particularly important because no one wants to bite into half-cooked chicken! From our own procedure, we agree that the best way to gauge its readiness is to examine the outer crust of the chicken, which should be a deep golden brown, not pale or soggy. And if you want further proof, cut open the thickest part of the chicken in the MIDDLE of the pan, and see if there is any pinkness left. If not, you are good! If you don’t want to ruin the look of the chicken, poke a thermometer into the meat and make sure it reaches at least 165 degrees Fahrenheit.
These may seem like tedious details, but it is incredibly important in order to create a safe, crispy product. We hope that this recipe can teach you proper roasting techniques, so that you can become a pro for other recipes in the future!
When experimenting with our recipe, it became clear some things which may seem like a good idea at first are not as effective as one might hope. In the original experiment we decided to double coat our chicken with the butter milk and dry mixture, this ended up creating a semi-soggy coating even after cooking thoroughly; in this case more is not always more.
When it comes to serving the chicken after cooking, it’s best to decide some dishes to serve with it beforehand if you aren’t in a rush or are cooking for more than one. Since the chicken provides the bulk of protein in the meal it’s good to pair it with some roasted veggie or in the summer maybe some fresh cut fruit to add variety to the palette. A classic addition would be any sort of grain like rice or pasta.
Additionally, another option would be fried potatoes or coleslaw! This would be best served as a backyard barbecue treat, or a nice meal on a snowy day to deter the winter scaries.

Nutrition Facts
Servings 4
- Amount Per Serving
- Calories 300kcal
Oven “Fried” Chicken
Description
A quick but delicious fix to any college student’s end of day hunger. After a full day at school or work the first thing you want to do is eat something amazing but the last thing you want to do is cook it. With this oven fried chicken you are getting the best of both worlds.
Ingredients
Instructions
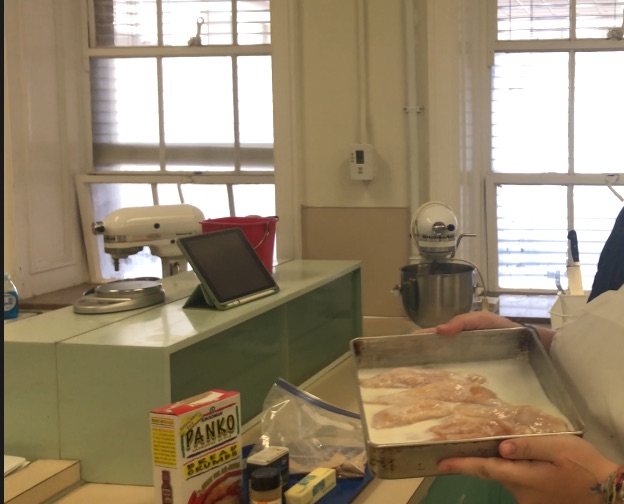
- Prep: Thaw and soak chicken the night before if possible. If not, one half-hour before cooking is fine as well. Cut into thick strips (about 3 per breast) and soak in buttermilk in the fridge.
- Set oven to 425 degrees Fahrenheit
- Get a 15 x 19in baking tray. Line with parchment paper. Melt the butter (10-15 sec in the microwave) and brush onto the paper with a food brush or with a paper towel.
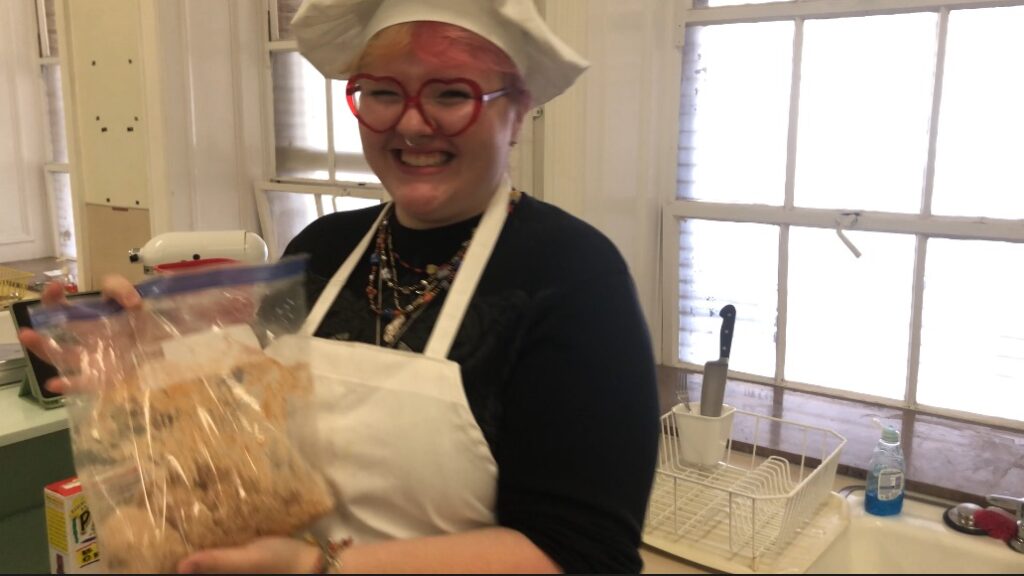
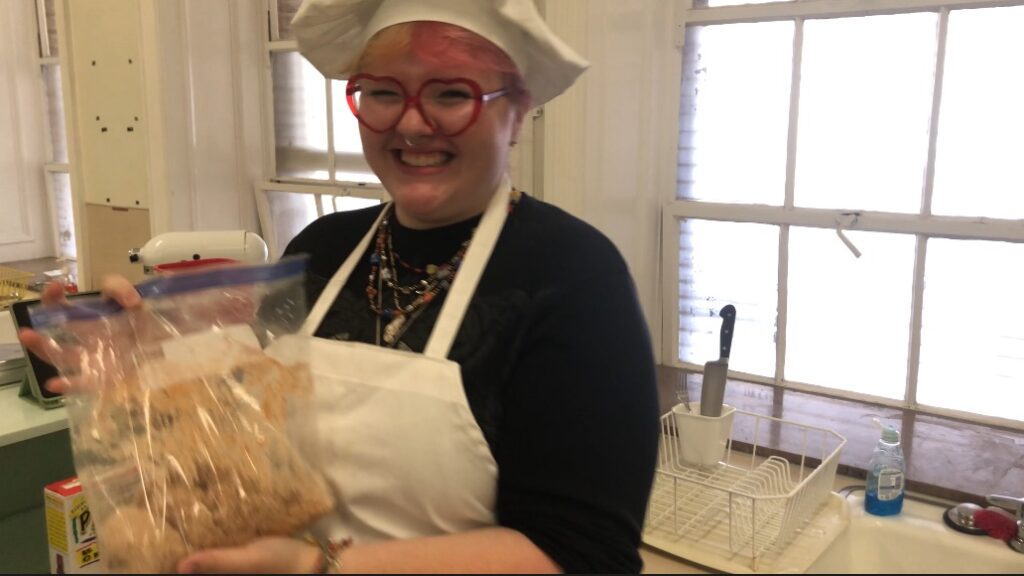
- Make coating: Combine Panko, flour, paprika, salt, and pepper in a gallon zip-lock bag (amount of coating can be adjusted if you want to add a second coating).
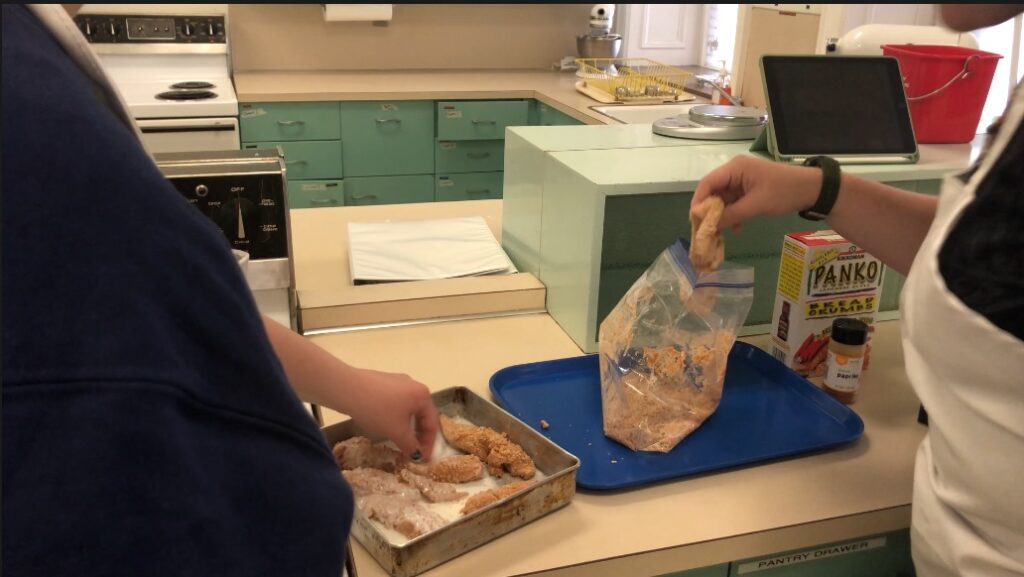
- Coat chicken: Put chicken in zip-lock bag and shake well to coat.
- Bake the chicken: Space the chicken out of the baking sheet with room to breathe. Put them into the 145F oven and bake for 10 min.
- After 10 min, flip them gently with tongs or a spatula. Drizzle some cooking oil onto the pan if it is dry, to help the bottoms of the breast crisp up in the oven. Cook another 10 min.
Check temp has reached 165F for at least 15 sec. If needed, bake an additional 5-10 min. Pull and let sit 2 min on a paper towel to soak up excess oil before serving.
Video
Notes
- You can soak the chicken in buttermilk for up to overnight. This makes prep a little easier and the chicken more flavorful.
- You can customize the seasonings to whatever you want! Try out Cajun, spicy, Italian, Korean, sesame, ranch, and so many more!
- You can add a little bit of baking powder to the breading (¼ tsp per batch). This increases volume and surface area of the breading and makes the skin crispier.
- Spray some cooking oil on the chicken before baking to achieve more of a deep-fried texture with less oil.
- While the chicken bakes, you can make side dishes: coleslaw, salad, steamed vegetables, baked potatoes, or anything else you would like! Also consider whipping up some homemade dipping sauce of your choice!
| INGREDIENTS | AMOUNT NEEDED FOR RECIPE | UNIT COST OF INGREDIENT | RECIPE INGREDIENT COST |
| chicken breast | 3 breasts (~24 oz total) | $3.98/lb | $5.98 |
| buttermilk | 3/4 cup | $3.92/63 fl oz | $0.37 |
| butter | 4 tbsp melted | $5.41/14oz | $0.68 |
| flour | 1/2 cup | $3.98/5lbs | $0.09 |
| panko | 1/3 cup | $2.27/8oz | $0.66 |
| paprika | 1 1/3 tsp | $2.98/4oz | $0.12 |
| black pepper | 1/3 tsp | $3.54/3oz | $0.06 |
| salt | 2 tsp | $3.41/48oz | $0.02 |
| TOTAL RECIPE COST | $7.98 | ||
| COST PER SERVING | $1.99 |
